![]()
Introduction
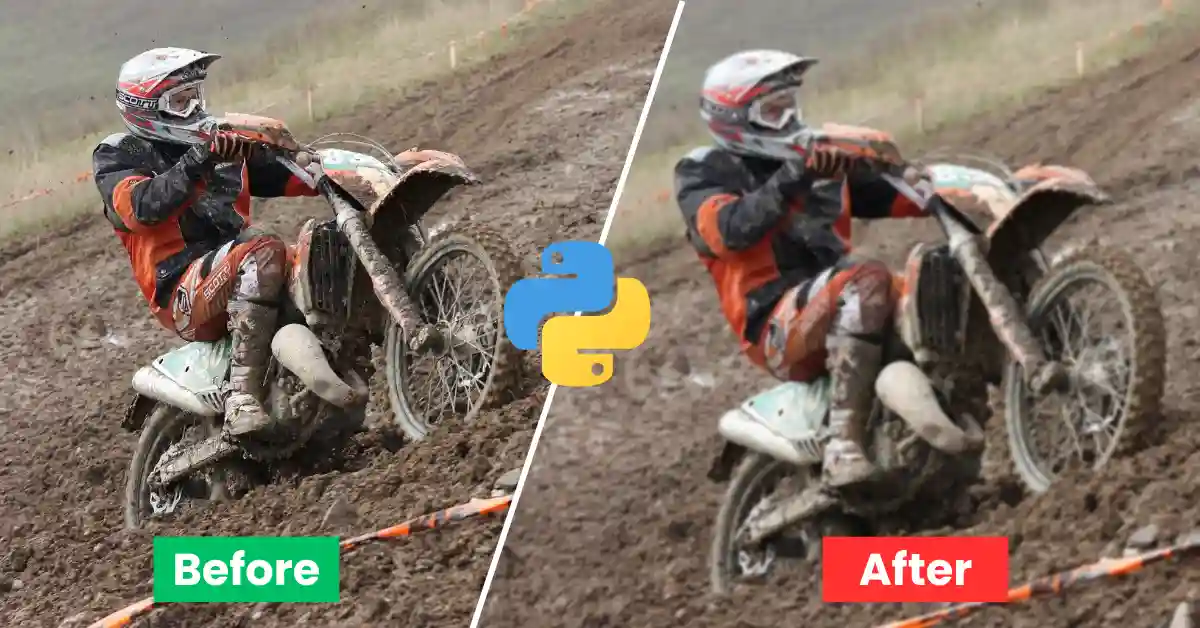
Ever wanted to give your photos a dreamy, blurred effect? In this article, we’ll show you how to blur an image using Python, a powerful programming language loved for its versatility.
We’ll use two popular libraries, Pillow and OpenCV, to unlock the secrets of image manipulation and transform your pictures with a touch of blur. But first, let’s take a quick peek at what “blur” actually means in the world of images.
What is the Blur Effect?
The blur effect in images isn’t just about a hazy look; it’s a specific manipulation of pixel values to achieve a desired result. Here’s a breakdown from both a visual and technical perspective:
Visually: Imagine looking at a picture slightly out of focus. Edges become softer, details fade, and colors blend together. This is the essence of blur: reducing the sharpness of an image.
Technically: Blurring involves modifying pixel values based on their surrounding neighbors. Different algorithms achieve this in various ways:
- Averaging: Each pixel’s new value becomes the average of its nearby pixels. This creates a uniform blur, reducing detail and contrast.
- Gaussian Blur: Similar to averaging, but uses a weighted average based on distance from the central pixel. This creates a smoother, more natural-looking blur, with edges preserved slightly.
- Median Blur: Instead of averaging, this method replaces the central pixel with the median value of its neighbors. This is effective for removing noise while preserving edges and is useful for denoising images.
- Box Blur: Similar to averaging, this method takes the average of all pixels within a defined square-shaped neighborhood, resulting in a blocky blur.
- Motion Blur: This simulates the blur caused by camera movement during exposure, creating streaks in the direction of movement. Useful for adding a sense of speed or dynamism.
These are just a few examples, and each technique can be further customized through parameters like blur radius (strength of the effect) and kernel size (area affecting the blur). Different libraries like Pillow and OpenCV implement these methods with varying APIs and capabilities.
Overall, the blur effect works by manipulating pixel values based on defined algorithms, ultimately impacting the image’s level of detail and creating aesthetic or functional outcomes.
Requirements and Installations
Before we dive into blurring magic, let’s get our tools ready!
Python: Make sure you have Python installed on your system. Head over to the official website (https://www.python.org/downloads/) and grab the latest version that suits your operating system.
Libraries: Now, we need two special libraries to work our blurring magic: Pillow and OpenCV. Don’t worry, you don’t need to download them manually! We can use a handy tool called pip to install them directly from within your Python environment. Just open your terminal or command prompt and run the following command:
pip install Pillow opencv-python
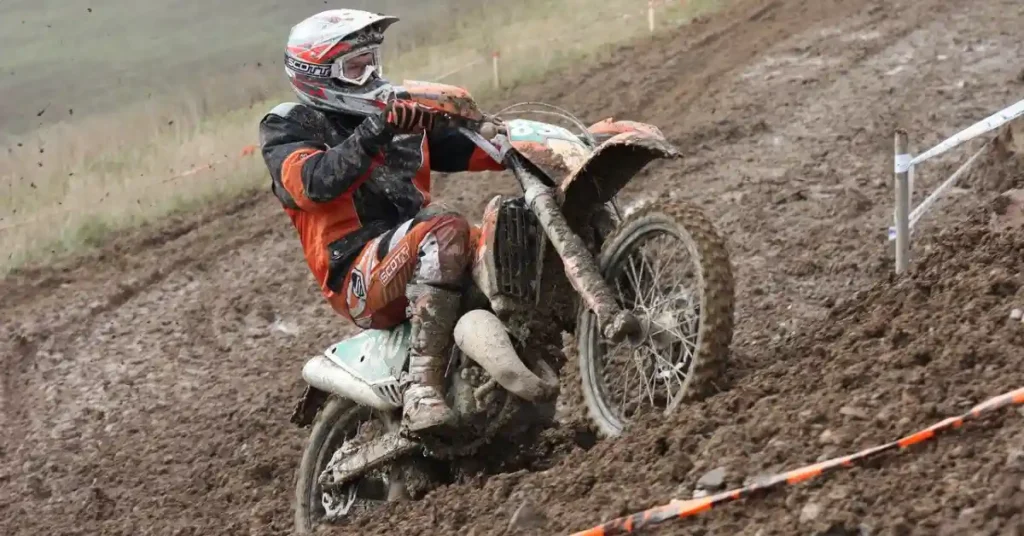
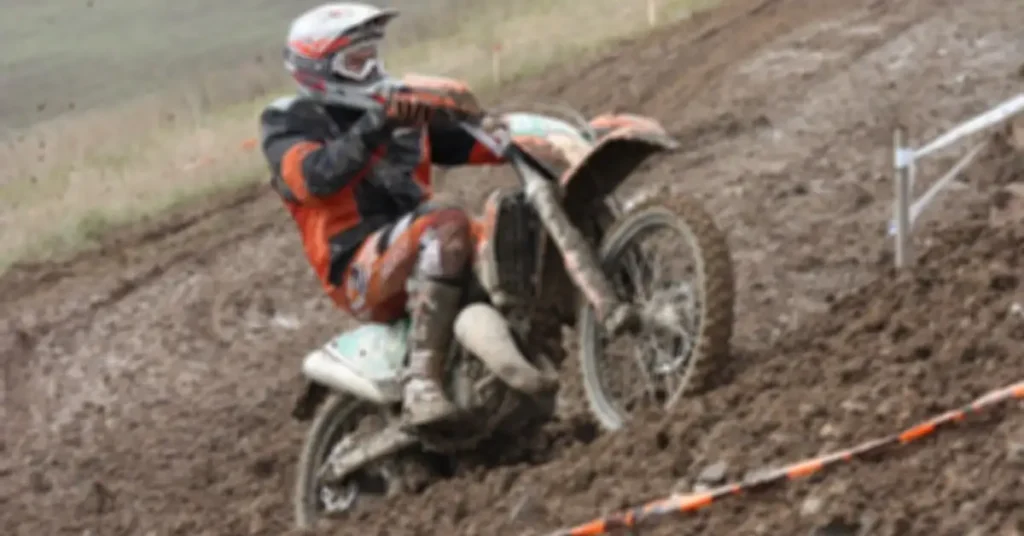
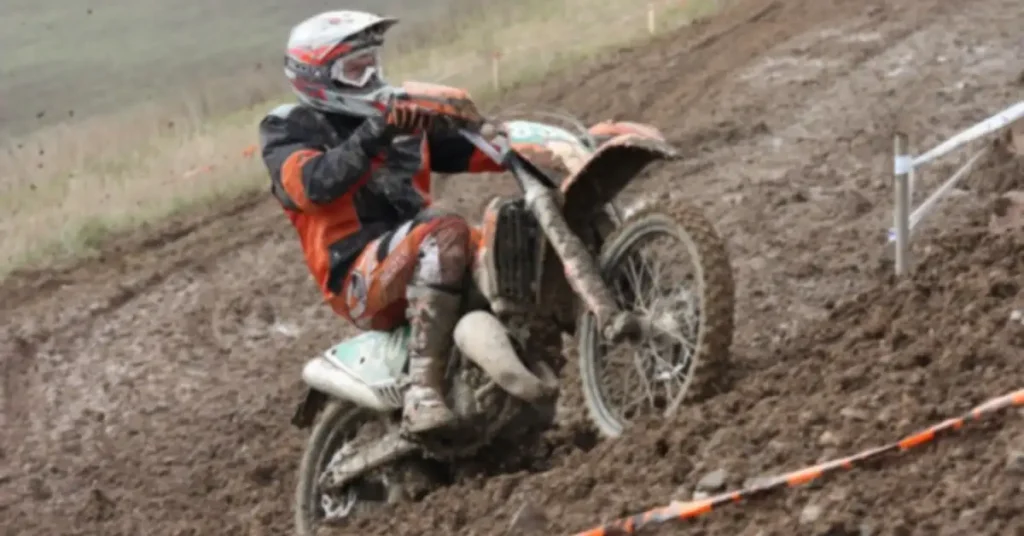
Throughout this article, we’ll be working with the same image, ‘sample.jpg,’ in all the code examples. (Replace “sample.jpg” with your actual image name)
Performing Blur Operation using Pillow library
Applying Blur Filter
from PIL import Image, ImageFilter

# Open the image
image = Image.open("sample.jpg")

# Apply the Blur filter
blurred_image = image.filter(ImageFilter.BLUR)

# Display the blurred image
blurred_image.show()

# Save the blurred image
blurred_image.save("blur1.jpg")
Output
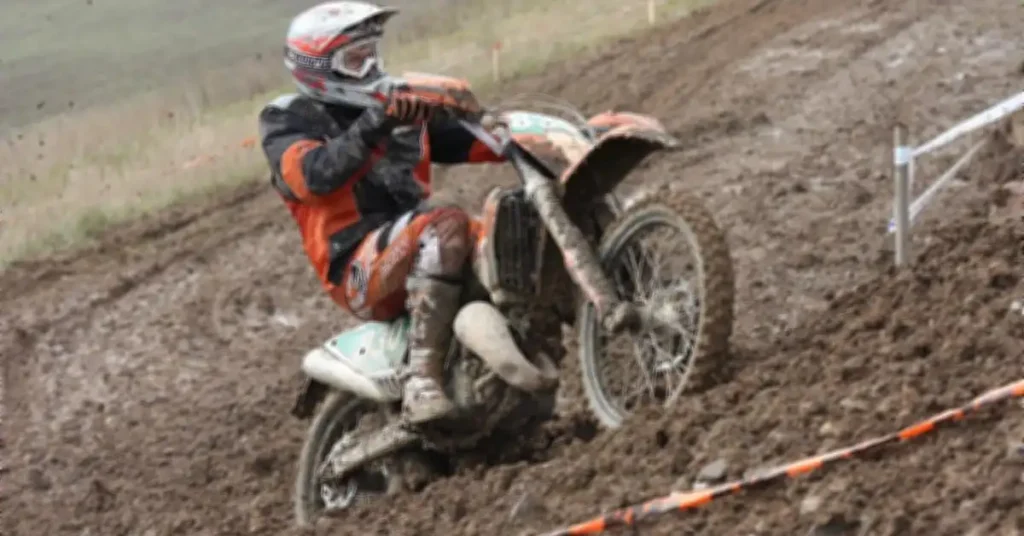
The ImageFilter.BLUR filter in Pillow applies a simple averaging blur to the image. This means it takes the average color value of a group of neighboring pixels and replaces all of them with that average value. This softens sharp edges and blurs details in the image, creating a hazy, out-of-focus effect.
Applying BoxBlur Filter with Radius
from PIL import Image, ImageFilter

# Open the image
image = Image.open("sample.jpg")

# Apply the BoxBlur filter with radius 4
blurred_image = image.filter(ImageFilter.BoxBlur(radius=4))

# Display the blurred image
blurred_image.show()

# Save the blurred image
blurred_image.save("blur2.jpg")
Output
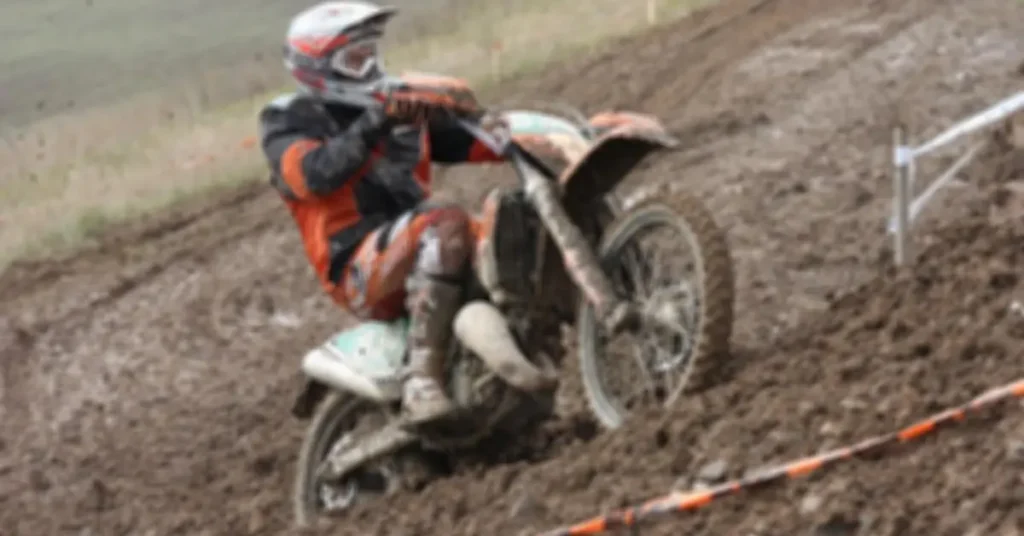
The ImageFilter.BoxBlur(radius) filter in Pillow applies a box blur to the image. Here’s what that means:
- Effect: Similar to the Blur filter, BoxBlur applies a blurring effect to the image, but with a more defined and blocky appearance.
- Radius: This parameter controls the strength and size of the blur. A larger radius creates a stronger blur by averaging over a larger area of neighboring pixels. This results in more pronounced blockiness and a softer, dreamier effect.
- Think of it this way: Imagine using a square-shaped eraser to gently smudge a part of the image. The larger the eraser, the more area it covers and the more blurred the smudged area becomes.
Here’s a visualization:
Radius 1: Blurs only immediate neighbors, minimal effect.
Radius 2: Blurs a larger area, moderate softening.
Radius 4: Blurs a significant area, and creates a strong haze.
Applying GaussianBlur Filter
from PIL import Image, ImageFilter

# Open the image
image = Image.open("sample.jpg")

# Apply the GaussianBlur filter with radius 2
blurred_image = image.filter(ImageFilter.GaussianBlur(radius=2))

# Display the blurred image
blurred_image.show()

# Save the blurred image
blurred_image.save("blur3.jpg")
Output
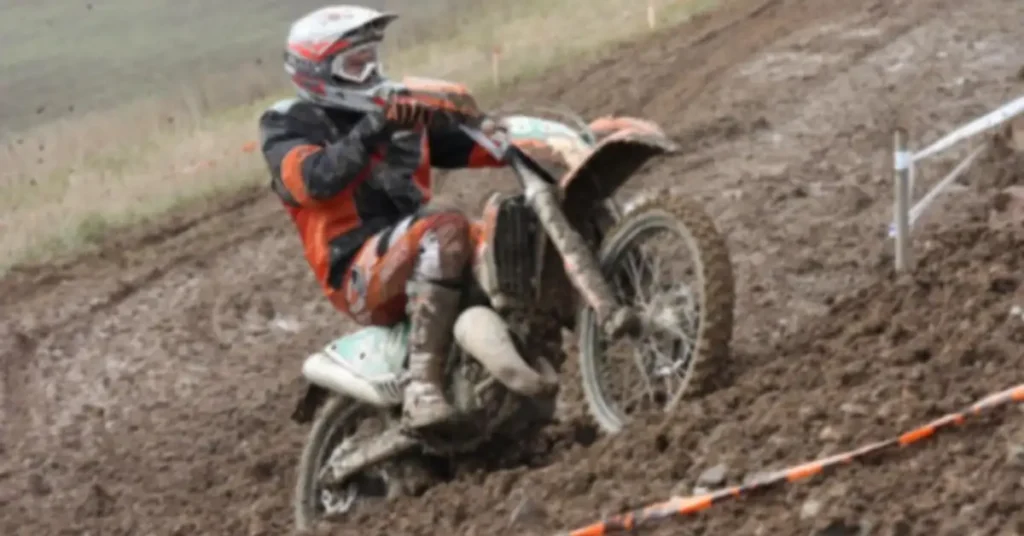
The ImageFilter.GaussianBlur(radius) filter in Pillow applies a box blur to the image. Here’s what that means:
- Effect: This filter applies a smooth, bell-shaped blur to the image, resembling how an out-of-focus camera captures light. It preserves edges better than simple averaging blur while softening details.
- Radius: Similar to BoxBlur, radius controls the blur strength and size. Higher values create a stronger blur with a wider bell-shaped distribution, impacting a larger area around each pixel. This results in a smoother, dreamier effect with less blockiness compared to BoxBlur.
- Imagine it this way: Instead of a square eraser, picture a bell-shaped eraser gently smudging the image. The wider the bell (higher radius), the further the blur extends and the softer the overall effect becomes.
Key differences from BoxBlur:
- Smoothness: GaussianBlur offers a more natural and continuous blur compared to the blocky appearance of BoxBlur.
- Edge preservation: It preserves sharp edges better than simpler averaging blurs, making details like outlines remain somewhat visible even with moderate blur.
Radius impact:
- Small radius (1-2): Creates a subtle, dreamy blur that maintains some detail.
- Medium radius (3-5): Offers a noticeable blur while still preserving some edge definition.
- Large radius (6+): Creates a strong, smooth blur with significant detail softening and potential loss of sharper features.
Performing Blur Operation using OpenCV library
OpenCV, another powerful library for image processing, also offers various methods for blurring images. We’ll explore two popular methods: cv2.blur() and cv2.GaussianBlur(). If you’re curious about more blurring techniques, check out this resource:
Remember, OpenCV’s capabilities extend far beyond image manipulation. It delves into the exciting world of computer vision, a popular and rapidly evolving field. Want to learn more? Here are some resources:
- Build a face recognition-based attendance system using Python
- Create a Face Recognition Project in Python
- Convert an Image to a Cartoon using OpenCV Python
Now, let’s dive into the code!
cv2.blur() Method
This method applies a simple averaging blur to the image. Similar to Pillow’s ImageFilter.BLUR. It takes the average color of neighboring pixels (specified by ksize) and replaces them with that value. This softens details and creates a hazy effect.
import cv2

# Open the image
Img = cv2.imread("sample.jpg")

# Apply the blur with a kernel size of 8x8
blurImg = cv2.blur(src=Img, ksize=(8, 8))

# Display and save the blurred image (optional)
cv2.imshow('Blurred Image', blurImg)
cv2.waitKey(0)
cv2.destroyAllWindows()
Output
Code Breakdown:
import cv2: Imports the OpenCV library.Img = cv2.imread("sample.jpg"): Reads the image and stores it in Img.blurImg = cv2.blur(src=Img, ksize=(8,8)): Applies the blur with a kernel size of 8×8 (adjust for desired intensity).cv2.imshow('Blurred Image', blurImg): Displays the blurred image.cv2.waitKey()andcv2.destroyAllWindows(): Handle window interactions.
cv2.GaussianBlur() Method
This method offers a smoother, bell-shaped blur like an out-of-focus camera lens. It preserves edges better than simple averaging blurs.
# Import OpenCV library
import cv2

# Load the image
Img = cv2.imread("sample.jpg")

# Apply Gaussian blur with 9x9 neighborhood and automatic sigmaX
blurImg = cv2.GaussianBlur(src=Img, ksize=(9, 9), sigmaX=0)

# Display the blurred image
cv2.imshow('Blurred Image', blurImg)
cv2.waitKey(0)

# Close windows
cv2.destroyAllWindows()
Output
Code Breakdown:
import cv2: Imports the OpenCV library.Img = cv2.imread("sample.jpg"): Reads the image and stores it in Img.blurImg = cv2.GaussianBlur(src=Img,ksize=(9,9), sigmaX=0): Applies Gaussian blur with a 9×9 kernel and sigmaX=0 (adjust sigma for spread).cv2.imshow('Blurred Image', blurImg): Displays the blurred image.cv2.waitKey()andcv2.destroyAllWindows(): Handle window interactions.
Important Note:
As mentioned, OpenCV’s GaussianBlur requires an odd kernel size. Remember to use odd numbers like 3×3, 5×5, or 7×7 to avoid errors.
Summary
In this article, we’ve explored image-blurring techniques using two powerful Python libraries: Pillow and OpenCV. We delved into the essence of the blur effect, and its applications, and unleashed its magic through practical code examples.
Pillow provided us with effortless blurring tools like Blur, BoxBlur, and GaussianBlur, allowing us to soften details and create artistic effects. We learned how to adjust the blur intensity and explore different neighborhood sizes for customization.
OpenCV unlocked even more advanced blurring techniques. We harnessed the cv2.blur() function for basic averaging blur and the cv2.GaussianBlur() function for a smoother, edge-preserving effect. We discovered the importance of odd-numbered kernel sizes for Gaussian blur and experimented with sigmaX for fine-tuning the blur intensity.
Remember, this is just the tip of the iceberg! Both libraries offer a plethora of other blurring methods and image manipulation capabilities. Don’t hesitate to explore further, experiment with different parameters, and unleash your creativity!
Happy blurring!