Introduction
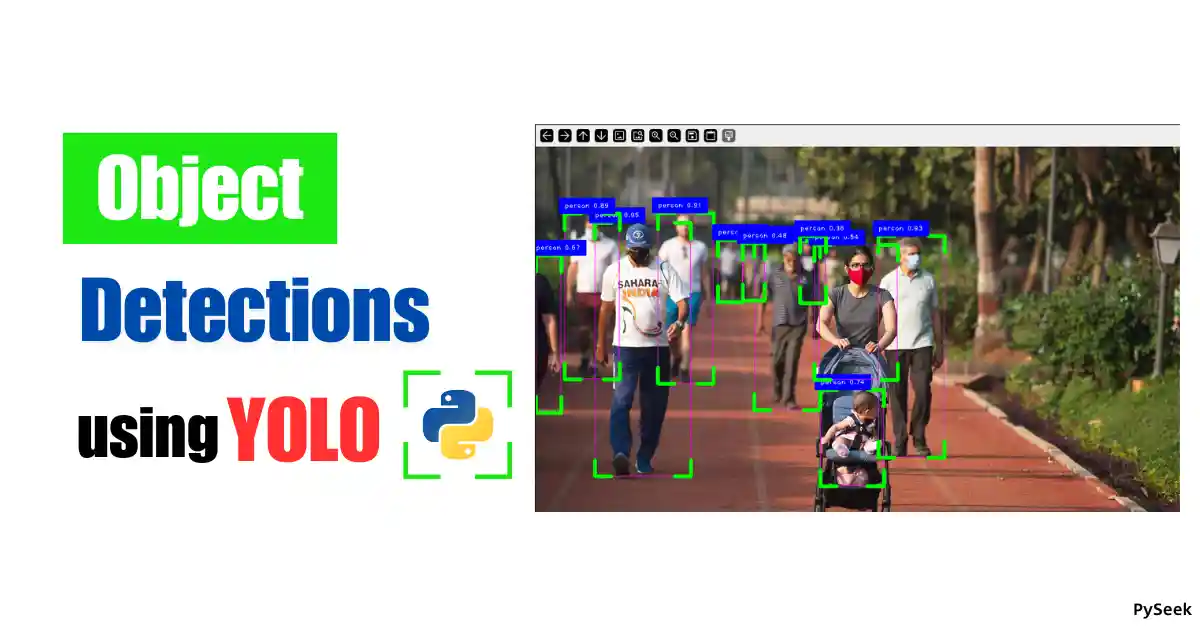
Object detection has revolutionized the way we interpret and interact with visual data. With advancements in deep learning, frameworks like YOLO (You Only Look Once) have made it possible to detect objects in real time with remarkable accuracy.
In this article, we will guide you through the process of setting up and using YOLO to detect objects in an image using Python. Whether you’re new to computer vision or an experienced developer, this tutorial will equip you with the knowledge to implement object detection in your projects. We’ll cover everything from the basics of YOLO to practical implementation, ensuring you gain a solid understanding of this powerful tool.
Requirements and Installations
Before we start coding, let’s ensure Python (3.6 or later) is installed on your computer. You can check your Python version by typing python --version or python3 --version in your terminal. If you don’t have Python, you can download it for free from https://www.python.org/downloads/.
Now download all the dependencies we require using the following commands:
pip install gitpython>=3.1.30
pip install matplotlib>=3.3
pip install numpy>=1.23.5
pip install opencv-python>=4.1.1
pip install pillow>=10.3.0
pip install psutil
pip install PyYAML>=5.3.1
pip install requests>=2.32.0
pip install scipy>=1.4.1
pip install thop>=0.1.1
pip install torch>=1.8.0
pip install torchvision>=0.9.0
pip install tqdm>=4.64.0
pip install ultralytics>=8.2.34
pip install pandas>=1.1.4
pip install seaborn>=0.11.0
pip install setuptools>=65.5.1
pip install filterpy
pip install scikit-image
pip install lap
Alternative Installation
Installing the above utilities one by one might be a boring task. Instead, you can download the ‘requirements.txt‘ file containing all the dependencies above. Simply run the following command. It will automate the whole task in one go.
pip install -r requirements.txt
Setting Up the Environment
Create a separate folder named “Object_Detections.” Now under this folder create two more folders named ‘Weights‘ and ‘Media‘ to store pre-trained YOLO models and images respectively.
Download a YOLO Model
Download the YOLO model ‘yolov8l.pt‘ from GitHub and place it into the ‘Weights‘ folder. Here is the download link: https://github.com/ultralytics/assets/releases/download/v8.1.0/yolov8l.pt.
Media Files
I have collected some suitable images from the internet for our object detection program. You can get those using the ‘Download‘ button below. All you have to do is, download the zip file, unzip it, and place those images inside the ‘Media‘ folder.
Create Your Python Script
We’re almost at the end of setting up the environment. Now choose your favorite text editor and open the directory ‘Object_Detections.’ Inside this directory, create a Python program file named ‘object_detections.py‘. This is where you’ll write the code for your object detection program.
The Source Code
Let’s break down the entire source code into multiple sections and explain what each part does:
Import Libraries
First, we need to import the necessary libraries. ‘OpenCV‘ is used for image processing, ‘cvzone‘ helps draw bounding boxes, and ‘YOLO’ from the ‘ultralytics‘ library is used for object detection.
import cv2
import math
import cvzone
from ultralytics import YOLO
Load YOLO Model and Define Class Names
Next, we load the YOLO model with the custom weights and define the class names that YOLO can detect. Make sure you have downloaded the YOLOv8 weights and placed them in the correct directory.
# Load YOLO model with custom weights
yolo_model = YOLO("Weights/yolov8l.pt")

# Define class names
class_labels = [
    "person", "bicycle", "car", "motorbike", "aeroplane", "bus", "train", "truck", "boat",
    "traffic light", "fire hydrant", "stop sign", "parking meter", "bench",
    "cat", "dog", "horse", "sheep", "cow", "elephant", "bear", "zebra", "giraffe",
    "backpack", "umbrella", "handbag", "tie", "suitcase", "frisbee", "skis", "snowboard", "sports ball", "kite",
    "baseball bat", "baseball glove", "skateboard", "surfboard", "tennis racket",
    "bottle", "wine glass", "cup", "fork", "knife", "spoon", "bowl",
    "banana", "apple", "sandwich", "orange", "broccoli", "carrot", "hot dog", "pizza", "donut", "cake",
    "chair", "sofa", "pottedplant", "bed", "diningtable", "toilet", "tvmonitor", "laptop", "mouse",
    "remote", "keyboard", "cell phone", "microwave", "oven", "toaster", "sink", "refrigerator", "book",
    "clock", "vase", "scissors", "teddy bear", "hair drier", "toothbrush"
]
Load the Image
We then load the image we want to process using OpenCV’s ‘imread‘ method.
# Load the image
image_path = "Media/public.jpg"
img = cv2.imread(image_path)
Perform Object Detection
The YOLO model is used to detect objects in the loaded image.
# Perform object detection
results = yolo_model(img)
Draw Bounding Boxes and Labels
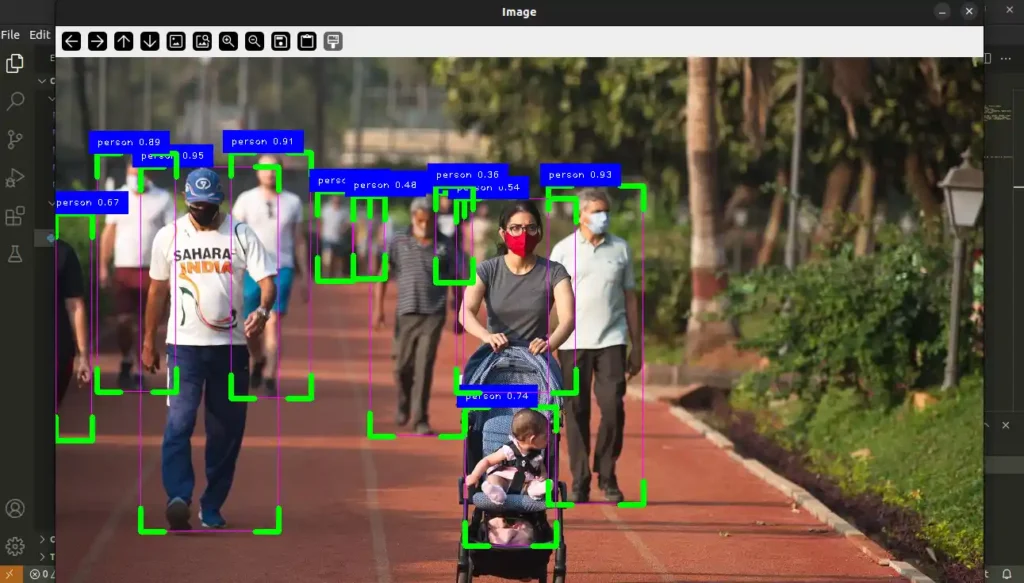
We loop through the detected objects and draw bounding boxes around them. The confidence score and class label are also displayed.
# Loop through the detections and draw bounding boxes
for r in results:
    boxes = r.boxes
    for box in boxes:
        x1, y1, x2, y2 = box.xyxy[0]
        x1, y1, x2, y2 = int(x1), int(y1), int(x2), int(y2)

        w, h = x2 - x1, y2 - y1
        cvzone.cornerRect(img, (x1, y1, w, h))
        conf = math.ceil((box.conf[0] * 100)) / 100
        cls = int(box.cls[0])

        if conf > 0.3:
            cvzone.putTextRect(img, f'{class_labels[cls]} {conf}', (x1, y1 - 10), scale=0.8, thickness=1, colorR=(255, 0, 0))
Display the Image
Finally, we display the processed image using OpenCV’s ‘imshow‘ method. The window will close when the ‘q‘ button is pressed.
# Display the image with detections
cv2.imshow("Image", img)

# Close window when 'q' button is pressed
while True:
    if cv2.waitKey(1) & 0xFF == ord('q'):
        break

cv2.destroyAllWindows()
cv2.waitKey(1)
Output
Summary
In this article, we learned how to use the YOLO model to detect objects in an image using Python. We used the pre-trained ‘yolov8l‘ model to identify objects in an image. But that’s not all! This tutorial will help you build custom object detection models using Python.
Recommended Article: Create a Car Counter in Python using YOLO and OpenCV
For any query, reach out to me at contact@pyseek.com.
Happy Coding!

