
Introduction
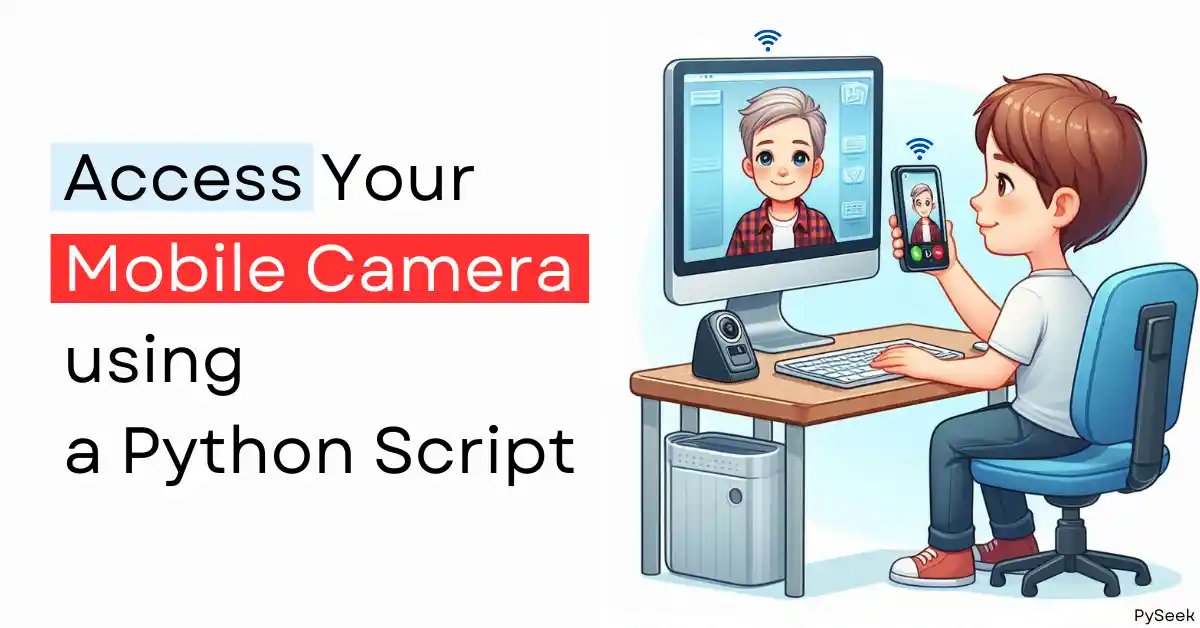
Having a good quality camera is very important for computer vision projects. However, many laptop webcams offer poor-quality resolution and frame rates. What if I tell you you can use your smartphone’s camera as a webcam, sounds great right?
In this tutorial, you will learn how to access your mobile camera as a webcam using a Python script. We will use the IP webcam mobile app and Python OpenCV library to achieve this task.
Why Use our Mobile Camera as a Webcam?
In this modern era, mobile cameras offer significantly better quality as compared to built-in laptop webcams. They offer higher resolution, better color accuracy, improved low-light performance, and much more.
Beyond just the better quality, using your mobile camera as a webcam also adds portability within a certain range (under the same Wi-Fi network). This can be particularly useful for various projects.
For example, suppose you want to monitor whether anyone is entering your premises while you’re inside your room. In that case, your mobile camera can act as a portable webcam, giving you flexibility and mobility that a built-in webcam cannot offer.
Requirements
Before we dive into the steps, ensure you have the following:
- A mobile device with a camera
- The IP Webcam app installed on your mobile device (available on Google Play Store)
- A computer with Python and OpenCV installed
- A shared Wi-Fi network for both devices
Steps
1. Install IP Webcam on Your Mobile Device
First, download and install the IP Webcam app from the Google Play Store. This app allows your mobile camera to stream video over Wi-Fi.
- Open the Google Play Store on your mobile device.
- Search for “IP Webcam” and install the app.
- Open the IP Webcam app and configure your desired settings such as resolution and quality.
- Start the server within the app. Note the IP address displayed (e.g., http://192.168.1.2:8080).
2. Set Up the Environment
Make sure you have Python installed on your system. You can download it from the official site: https://www.python.org/downloads/. Now install the OpenCV library using the following command:
pip install opencv-python
3. Write the Python Script
Open your favorite text editor and create a Python file named ‘ip_webcam.py’. Now copy the code below and paste it there.
import cv2

url = 'http://192.168.1.2:8080/video'

# Open the video stream
cap = cv2.VideoCapture(url)

while True:
    # Capture frame-by-frame
    ret, frame = cap.read()

    # If the frame was not retrieved properly, break the loop
    if not ret:
        print("Failed to grab frame")
        break

    # Display the resulting frame
    cv2.imshow('Mobile Camera', frame)

    # Press 'q' to exit the video stream
    if cv2.waitKey(1) & 0xFF == ord('q'):
        break

# When everything is done, release the capture
cap.release()
cv2.destroyAllWindows()
4. Run the Python Script
Make sure your mobile device and your computer are connected to the same Wi-Fi network. Next, replace only ‘http://192.168.1.2:8080‘ in the above program with the IP address shown by the IP Webcam app.
For example, if your IP Webcam app is showing this address: ‘http://192.168.13.40:8080‘ then it would be like this: ‘http://192.168.13.40:8080/video‘.
Now save the program and run it.
5. Output
Watch the entire video to understand the above steps better.
Summary
In this tutorial, you learned how to use your mobile camera as a webcam using a Python script. You can significantly improve the quality and frame rates of your video streams using the IP Webcam app instead of an in-built webcam. This setup is particularly beneficial for computer vision projects that require a high-quality camera.
For further inspiration, consider exploring some real-life computer vision projects:
- Create a Car Counter in Python using YOLO and OpenCV
- Build a Face Recognition Login System using Python
- Real-time Glass Detection on Face using Python
- Create a face recognition attendance system using Python
Happy Streaming!


