![]()
Introduction
Ever wanted to isolate that perfect sunset from a crowded photo? Or extract a specific object from a complex image? In this tutorial, you will learn two methods for cropping an image using Python. The first one is square cropping and the second one is cropping any shape based on your chosen coordinates (cropping coordinate-wise).
The second method is very useful for practical use. No matter the shape you want to extract from an image, our trusty tools – OpenCV and NumPy – will guide you to pixel-perfect results. So, grab your curiosity, and let’s dive into the world of image manipulation!
Requirements and Installations
If Python isn’t already a resident on your system, fear not! Grab the latest version from their website (https://www.python.org/). Once settled, remember to install OpenCV using the command below. Don’t worry about NumPy; it’s pre-installed with Python!
pip install opencv-python
Square Cropping: Click & Crop
Follow these steps:
- Load your image: Tell the program where your photo lives using the designated path.
- Drag to define: Click and drag your mouse across the area you want to crop.
- Rectangle preview: The program will outline your chosen area with a customizable rectangle.
- Crop with confidence: Press the ‘c‘ button, and voilà! Your desired square will be neatly extracted.
- Escape when you’re done: Press ‘Esc’ to exit.
import cv2
import numpy as np

# Global variables
drawing = False  # True if mouse is pressed
ix, iy = -1, -1  # Starting coordinates
fx, fy = -1, -1  # Ending coordinates


def draw_rectangle(event, x, y, flags, param):
    global ix, iy, fx, fy, drawing

    if event == cv2.EVENT_LBUTTONDOWN:
        drawing = True
        ix, iy = x, y

    elif event == cv2.EVENT_LBUTTONUP:
        drawing = False
        fx, fy = x, y
        cv2.rectangle(img, (ix, iy), (fx, fy), (0, 255, 0), 2)
        cv2.imshow('image', img)


# Read an image from file
img = cv2.imread('woman.jpg')  # Change to your image file path
cv2.imshow('image', img)

# Set the callback function for mouse events
cv2.setMouseCallback('image', draw_rectangle)

while True:
    key = cv2.waitKey(1) & 0xFF

    # Break the loop if 'c' is pressed (crop the selected area)
    if key == ord('c'):
        if ix < fx and iy < fy:
            cropped_region = img[iy:fy, ix:fx]
            cv2.imshow('cropped', cropped_region)
            cv2.imwrite('cropped_image.jpg', cropped_region)  # Save the cropped image
        else:
            print("Invalid selection. Please try again.")

    # Break the loop if 'esc' is pressed
    elif key == 27:
        break

cv2.destroyAllWindows()
Output
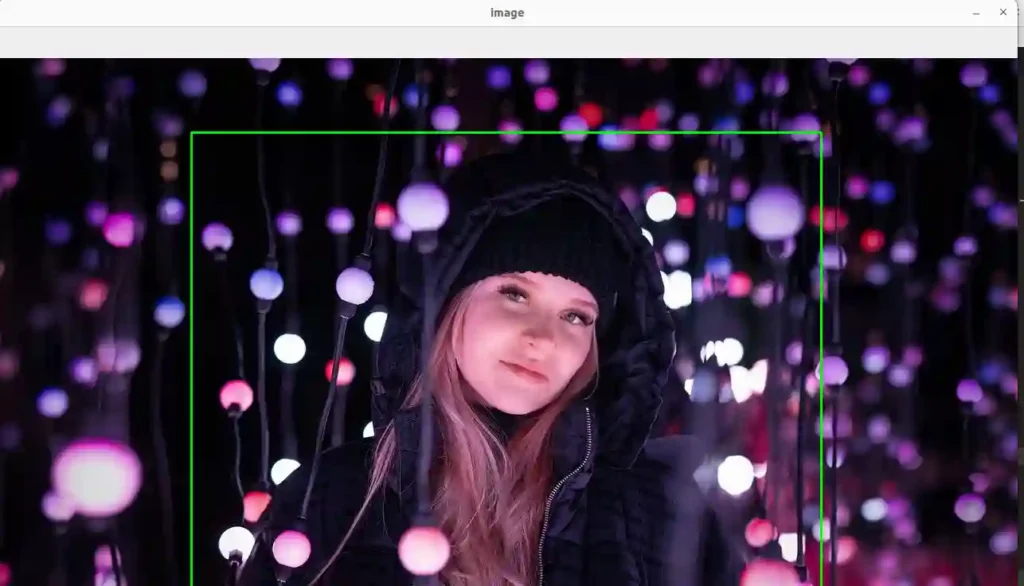
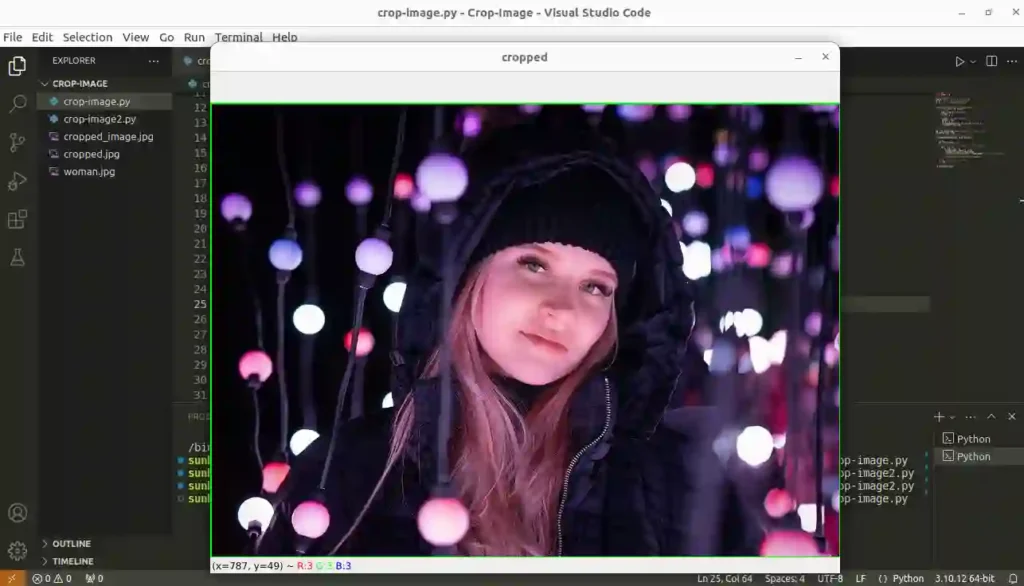
The first image shows the chosen square for cropping, and the second one reveals the final, perfectly cropped image.
Selected Area
Cropped Image
Crop any Shape Coordinate-Wise
This approach lets you crop any shape you want. Follow these steps:
- Load the Image: Mention the Path of your image in the program.
- Point & Click: Click on each corner of the area you want to extract, like building a digital fence.
- Connect the Dots: Remember to close the loop! Click back on your starting point to create a complete outline for the program to understand.
- Preview the Area: Preview the selected area as you build the fence.
- Crop with Confidence: Once satisfied, press the ‘c‘ button and your desired shape will be extracted, and automatically saved.
- Escape the Canvas: Press “Esc” to exit.
import cv2
import numpy as np

# Global variable
points = []


def get_coordinates(event, x, y, flags, param):
    if event == cv2.EVENT_LBUTTONDOWN:
        points.append((x, y))
        draw_points()

def draw_points():
    for point in points:
        cv2.circle(img, point, 1, (0, 255, 0), -1)
    cv2.imshow('image', img)


# Read an image from file
img = cv2.imread('woman.jpg')  # Change to your image file path
cv2.imshow('image', img)

# Set the callback function for mouse events
cv2.setMouseCallback('image', get_coordinates)

while True:
    key = cv2.waitKey(1) & 0xFF

    # Press 'c' to crop the selected area
    if key == ord('c'):
        if len(points) > 2:
            mask = np.zeros_like(img)
            cv2.fillPoly(mask, [np.array(points)], (255, 255, 255))
            cropped_region = cv2.bitwise_and(img, mask)
            cv2.imshow('cropped', cropped_region)
            cv2.imwrite('cropped_image.jpg', cropped_region)  # Save the cropped image
            points = []  # Reset points after cropping

    # Break the loop if 'esc' is pressed
    elif key == 27:
        break

cv2.destroyAllWindows()
Output
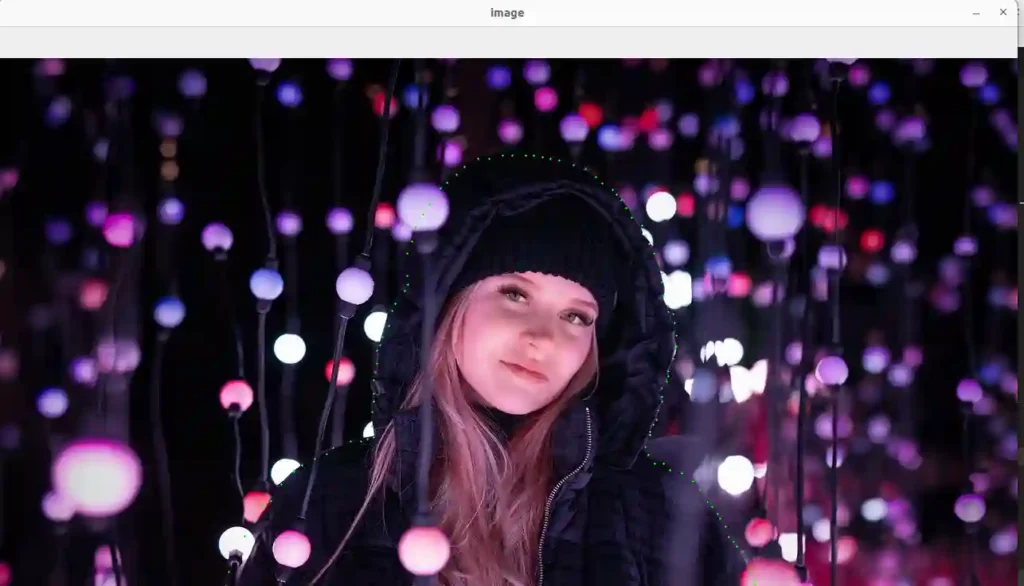
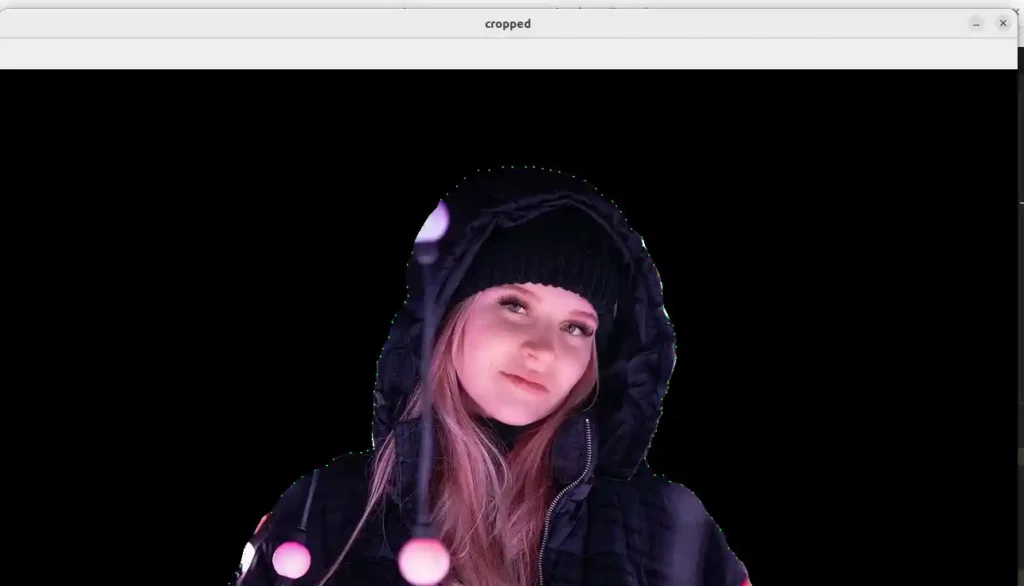
Check out these two images: the first shows the custom crop area, marked with green dots like a fence. The second reveals the final, perfectly cropped image.
Selected Area
Cropped Image
Summary
In this tutorial, we learned to isolate the perfect elements from your photos, whether it’s a square slice or a custom shape of your choice. It guides you through two powerful methods: square cropping and coordinate-wise cropping.
In the first method, we select the area by clicking and dragging the mouse over the desired region for cropping. In the second method, we point to each corner of the area we wish to extract. For both methods, button ‘C‘ is set to happen the magic. It crops the image and saves it automatically in the current working directory.
With the help of tools like OpenCV and NumPy, this tutorial walks you through the installation process and provides a friendly, hands-on guide to unleash your creativity.
For any queries or feedback, reach out to me at contact@pyseek.com.
Ready to explore more Cool Python Programs? Explore our dedicated page packed with unique ideas. Here are a few examples to spark your interest:
- Creating a Colorful Sketch of Messi using a Python Code
- Wish Happy Birthday using Python Programs
- Say I Love You using a Python Code
- Learn to Create Messi vs Ronaldo in Python
Happy Cropping!