![]()
Introduction
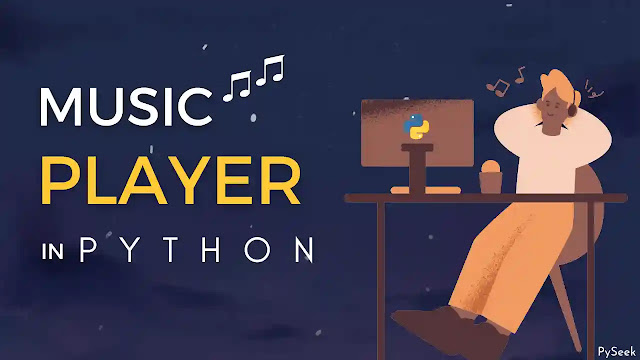
Python is a versatile programming language that offers a wide range of libraries and frameworks. These facilities really help to build various applications that can be used in real life. One such application is a music player which is easy to develop using Python.
In this article, we will create our own music player using Python and its Tkinter and VLC library. We will add a playlist feature also to this application which will make this application very useful.
Visit Also: Create a Custom Text Editor with Python
Requirements and Installations
Make sure Python is installed on your system. You can install it from their official website. Additionally, you will need Tkinter and VLC installed on your system. Use the following commands to install these libraries:
pip install tk
pip install python-vlc
Start Writing Your Code
Choose your favorite code editor, create a Python file named “music_player.py”, and save it. Now start writing the code from the below.
Import the necessary libraries
Let’s start by importing all the required libraries into your Python script:
import os
import vlc
import tkinter as tk
from tkinter import filedialog
Create the MusicPlayer class
Next, we will define a class called MusicPlayer that encapsulates the functionality of our music player:
class MusicPlayer:
    def __init__(self, window):
        self.window = window
        self.window.title("Music Player")
        self.window.geometry("500x340")

        # Create the playlist
        self.playlist = tk.Listbox(self.window, width=50)
        self.playlist.pack(pady=10)

        # Create the controls frame
        controls_frame = tk.Frame(self.window)
        controls_frame.pack()

        # Create the play button
        self.play_button = tk.Button(controls_frame, text="Play", command=self.play)
        self.play_button.grid(row=0, column=0, padx=10)

        # Create the pause button
        self.pause_button = tk.Button(controls_frame, text="Pause", command=self.pause)
        self.pause_button.grid(row=0, column=1, padx=10)

        # Create the stop button
        self.stop_button = tk.Button(controls_frame, text="Stop", command=self.stop)
        self.stop_button.grid(row=0, column=2, padx=10)

        # Create the add button
        self.add_button = tk.Button(controls_frame, text="Add", command=self.add_to_playlist)
        self.add_button.grid(row=1, column=0, pady=10)

        # Create the remove button
        self.remove_button = tk.Button(controls_frame,text="Remove",command=self.remove_song)
        self.remove_button.grid(row=1, column=1, pady=10)

        # Create the vlc player instance
        self.player = vlc.Instance()
        self.media_player = self.player.media_player_new()

        # Set the end event
        the_event = vlc.EventType.MediaPlayerEndReached
        self.media_player.event_manager().event_attach(the_event, self.next_song)
Implement the player controls
In the MusicPlayer class, add the following methods to implement the player controls:
    def play(self):
        selected_song = self.playlist.get(tk.ACTIVE)
        media = self.player.media_new(selected_song)
        self.media_player.set_media(media)
        self.media_player.play()

    def pause(self):
        self.media_player.pause()

    def stop(self):
        self.media_player.stop()

    def next_song(self, event):
        next_index = (self.playlist.curselection()[0] + 1) % self.playlist.size()
        self.playlist.selection_clear(0, tk.END)
        self.playlist.activate(next_index)
        self.playlist.selection_set(next_index)
        self.play()

    def add_to_playlist(self):
        file_path = filedialog.askopenfilename(defaultextension=".mp3",
        filetypes=[("MP3 Files", "*.mp3"), ("WAV Files", "*.wav")])

        if file_path:
            self.playlist.insert(tk.END, file_path)

    def remove_song(self):
        selected_index = self.playlist.curselection()[0]
        self.playlist.delete(selected_index)
Initialize the music player
Finally, initialize an instance of the MusicPlayer class and start the main event loop:
if __name__ == "__main__":
    window = tk.Tk()
    music_player = MusicPlayer(window)
    window.mainloop()
That’s it. We successfully created our own music player app using Python and the Tkinter library. Now, you can run the script, and a GUI window will appear with the player controls and playlist. You can add songs to the playlist, play, pause, stop, and remove songs from the playlist.
Output

Visit Also: Create a Meditation App in Python with Tkinter
This is just the tip of the iceberg, as there are countless possibilities for improving our music player. You are also welcome to enhance the functionality of this music player app further by adding features like volume control, seeking, or implementing a graphical representation of the currently playing song.
Do enjoy listening to your favorite tunes with your new music player!
Happy Listening!