![]()
Introduction
In today’s digital age, images play a crucial role in various applications, from websites to mobile apps. However, large image file sizes can significantly impact loading times and consume excessive storage space. Image compression techniques come to the rescue by reducing file sizes without compromising image quality.
In this tutorial, you’ll learn how to effectively compress an image while maintaining good quality using a Python program. We’ll use the popular Pillow library to achieve this and add valuable improvements to the original content.
Before We Begin:
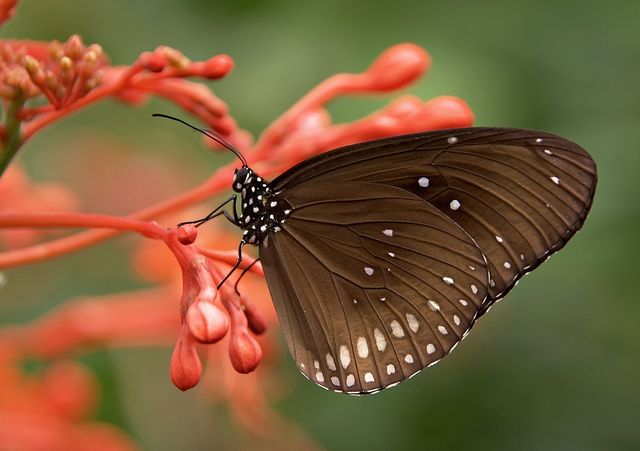
Download the sample image (e.g., “butterfly.jpg“). Here is a preview of the original image:

Installation
Before we begin, ensure you have Pillow (Here is the Documentation) installed. Open your terminal or command prompt and run:
pip install Pillow
Understanding the Code
Let’s break down the code step-by-step, adding comments for clarity:
import os
from PIL import Image

# Define the image path ("/path/to/your/image.jpg"): replace with your actual path
image_path = "butterfly.jpg"

# Open the image using Pillow
try:
    image = Image.open(image_path)
except FileNotFoundError:
    print("Error: Image file not found. Please check the path.")
    exit(1)

# Extract image dimensions
width, height = image.size

# Resize the image using Antialiasing for smoother scaling
resized_image = image.resize((width // 2, height // 2), Image.ANTIALIAS)

# Extract filename and extension
filename, extension = os.path.splitext(os.path.basename(image_path))

# Compose the compressed image filename
compressed_filename = f"{filename}-compressed{extension}"

# Convert to RGB mode (if necessary) for JPEG saving
if image.mode != "RGB":
    resized_image = resized_image.convert("RGB")

# Save the compressed image with quality set to 80 (adjust as needed)
try:
    resized_image.save(compressed_filename, quality=80, optimize=True)
    print(f"Image compressed successfully! New file: {compressed_filename}")
except Exception as e:
    print(f"Error saving image: {e}")
Explanation
- Import libraries: We import
osfor file path manipulation andPIL(Pillow) for image processing. - Define image path: Replace the placeholder with your actual image path.
- Open image:
Image.open()opens the image and handles potential file not found errors. - Resize image: The image is resized by half its original size using
resize()with Antialiasing for quality. - Extract filename and extension: We extract these for constructing the compressed file name.
- Compose compressed filename: The new filename includes the original name with ‘-compressed’ added.
- Convert to RGB (if needed): For JPEG saving, the image is converted to RGB mode if necessary.
- Save the compressed image:
save()saves the resized image with a quality of 80 (adjust for your needs) and optimization enabled. - Error handling: The code gracefully handles potential errors during image opening and saving.
Output
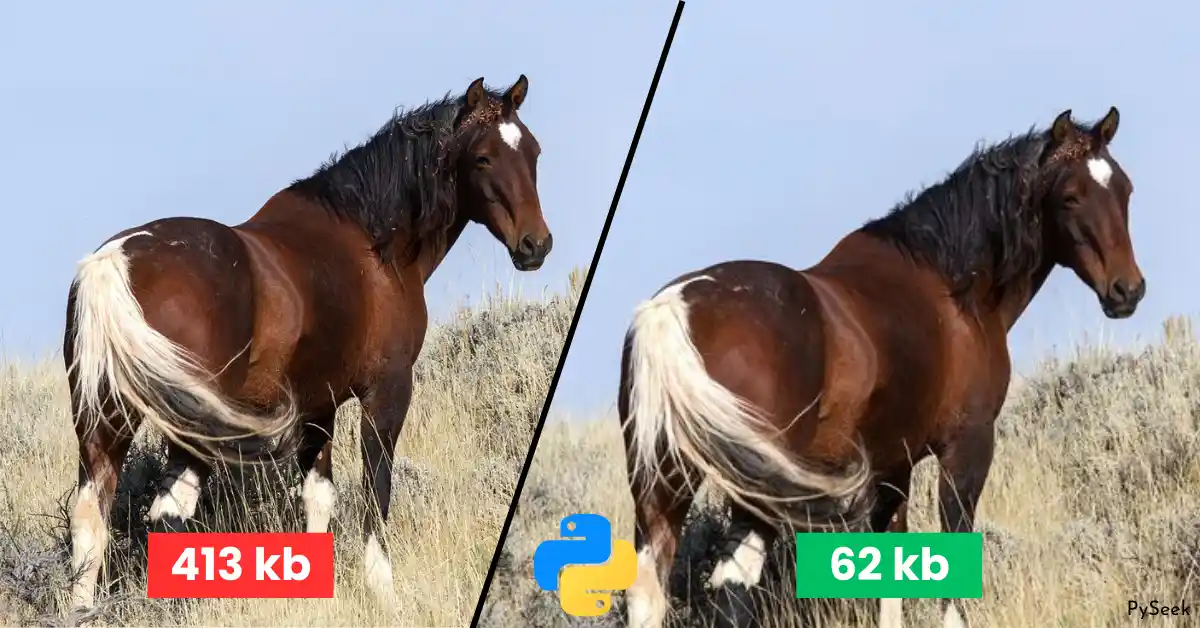
Our original “butterfly.jpg” is 213kb. Running the program with the correct path compressed the image named “butterfly-compressed.jpg” with a size of 37kb while maintaining reasonable visual quality. Here is the compressed image preview:
Bonus Tip: Experiment with different quality values (1-100) to find the optimal balance between size reduction and quality preservation. Remember, lower quality leads to smaller size but also more image degradation.
GUI Project
For a graphical interface version of image compression, refer to the linked project: Build an Image Compression App using Python Tkinter.